INSTRUCTIONS
Surface Preparation is Critical to Application Success
This is the most critical step, to obtain optimum adhesion the bonding surfaces must be clean and dry, this process is crucial even if it’s a new board, otherwise, the pad will get off and break, not because the adhesive didn’t stick, but because it did adhere to the dirt or grease that was of the bonding surface.
Tips to surface preparation:
-Use sandpaper or a Scouring pad clean scrub at the surface where the pad is going to be placed, after that pass with a 50:50 mixture of isopropyl alcohol (IPA) and water, through paper or cotton tissue dark and white, repeat until you are sure it is well clean, as shown on video below.
Tips to check if the surface is clean:
-Observe the reflection with the best angle light.
-Slide the surface with a dry paper towel, if it slides smoothly and does not get stuck could be a tricky way to check grease residues of the surface.
3M video – Cleaning the surface
LAYOUT POSITIONING
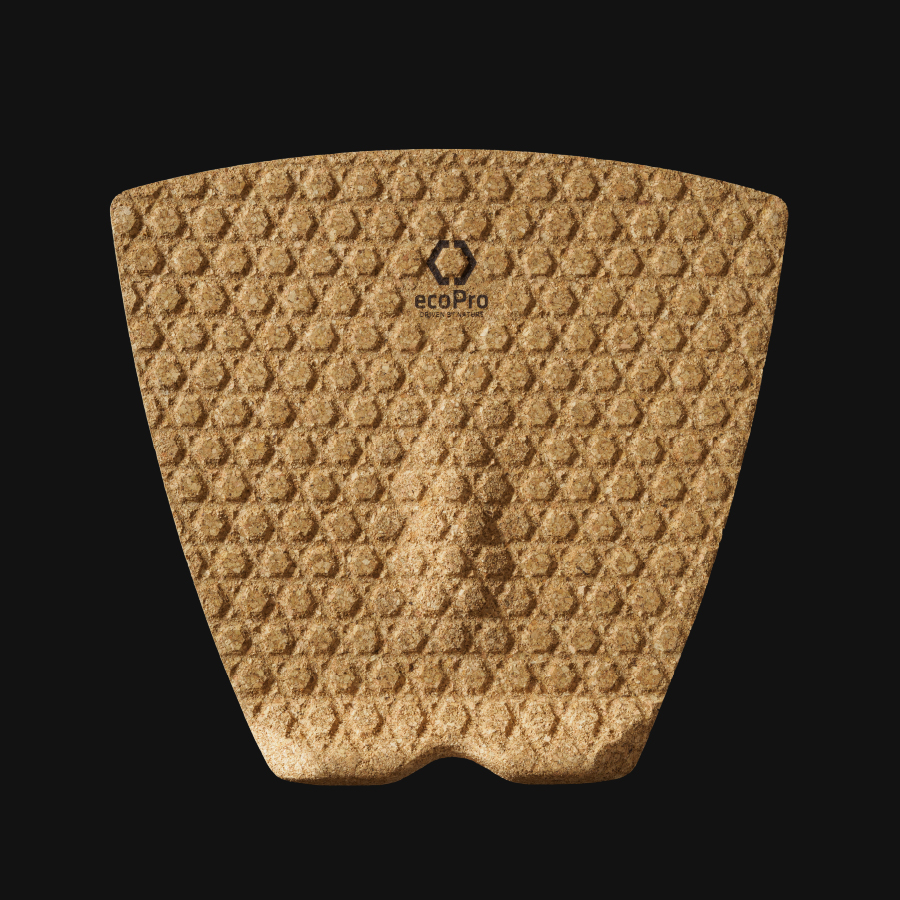
Place the pad on the board and figure out where you want it to go. Mark off the position of the pad with a pencil. Use the stringer to make sure you’ve got your pad centered. Peel off the adhesive paper carefully so as not to damage the cork pad.
APPLY PRESSURE
Applying firm pressure develops better adhesive contact and helps improve bond strength.
DRYING TIME
After application, the bond strength will increase as the adhesive flows onto the surface. At room temperature, approximately 50% of the ultimate strength will be achieved after 20 minutes, 100% after 24 hours and 100% after 72 hours.